Ev0
Admin
“Double your Expectation!”
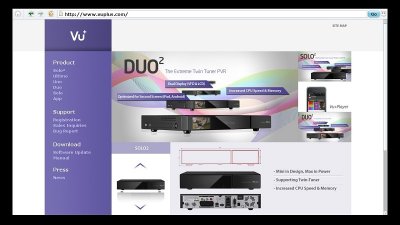
Well this has to be one of the most eagerly anticipated Satellite box’s of the last 10 years.Ever since Vu+ Announced the Duo2 at the Anga Cable and Satellite fair last year, there has been a lot of hype surrounding this receiver.
Finally it is here.
So what’s all the fuss about? Let’s take a look.
Features:
The Duo2 has a great set of features, which at this moment in time is not matched by any other satellite receiver on the market (and there doesn’t look to be anything that will get close to it anytime soon either) so what are these features I hear you ask:
Hardware:
- Powerful Dual Core 1.3Ghz cpu
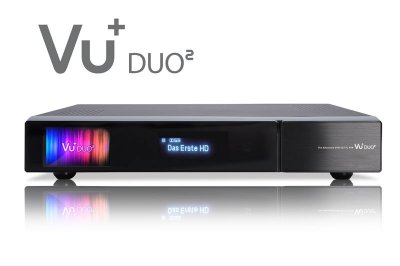
- 3.2” TFT LCD 262,000 colour front panel display
- Large VFD front panel display
- Pluggable Twin tuners dvb-s2 (fit 1,2,3,or 4 internal satellite tuners, or 2 satellite & 1x dvb-T / C tuner)
- Dolby Digital Plus & DTS supported
- 2 x SmartCard Readers (Xcrypt)
- 2 x Common Interface slots
- Dual MPEG2/H.264 Hardware Decoding
- DNR (Digital Noise Reduction)
- 1GB Nand Flash / 2GB DRAM
- Gigabit Ethernet
- 3 x USB 2.0
- SATAIII 2.5" and 3.5” HDD supported
- RS232
- HDMI 1.4
- YPbPr Component
- Composite Video
- 1 x SCART
- SPDIF for digital bit stream out (optical)
- Full HD 1080p Output
- Full HD 1080p 60hz Transcoding
- HD PIP (Picture in Picture)
- Built in Wi-fi
- Blindscan
- Automatic temperature sensor based FAN speed control system
- Linux Operating System
- Media Player
- Downloadable Plug-Ins supported
- HbbTv
- EPG supported
- Automatic & Manual Service Scan Supported
- Multiple LNB control (DiSEqC) supported
- Skin change supported
Inside the box:
The box itself, is just like previous releases from Vu+ so no expense spared there then, it simply lists the connections on the rear panel, and the features of the Duo2.
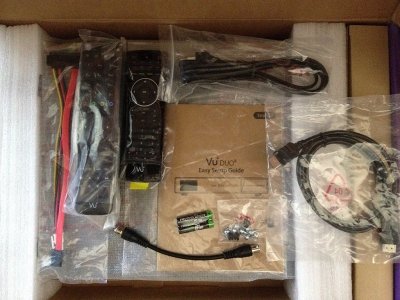
On opening the box up, you find the following inside:
- Vu+ Duo2 Satellite Receiver
- Quick Start instruction manual
- Remote Control (my pre-production unit was supplied with 2 remote controls, but I understand that Vu+ have a new remote control to be released with the Duo2)
- 2x AAA Battery’s
- Hdmi 1.4 cable
- Sata cable
- Hdd fitting kit
- RF Loopthrough cable
- Power cable
Appearance:
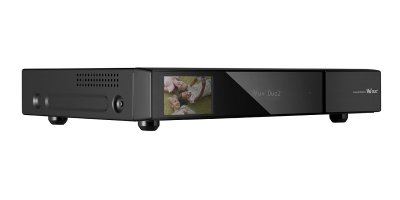
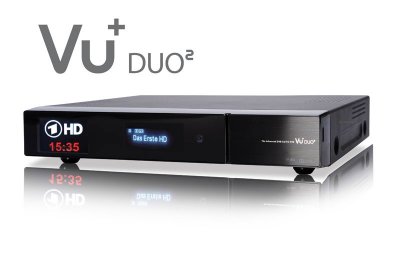
Aesthetically the Duo2 is very similar to the Vu+ Ultimo, but has a 3.2” TFT LCD 262,000 colour display on the left hand side of the front panel and a large bright VFD display that is smaller but similar in design to the Vu+ Ultimo, in the centre.
On the right hand side there is a flap that hides the front USB 2.0 port, Power button and also features the 2 CI slots and below there are 2 Xcrypt embedded card readers. Note that there are no channel change or volume control buttons.
It is nice to see that Vu+ have moved away from the Glossy “dust magnet” finish of the case found on the Ultimo, and moved to a nice matt black finish.
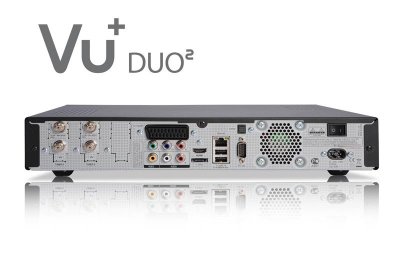
At the back we find a similar array of connections to that of the Vu+ Ultimo:
- 2x Tuner slots (I am running 1x Twin dvb-s2 and 1x Single dvb-s2 tuners)
- 1x Scart socket
- 1x YPbPr (component) sockets
- 1x Component socket
- 1x Hdmi 1.4 socket
- 1x E-Sata connecter
- 1x Gigabit Ethernet connector
- 2x Usb 2.0 sockets (1 also found at the front)
- 1x S/PDIF socket
- 1x RS232 connector
- ON / OFF switch,
- Power supply connector
- Cooling fan
Getting started:
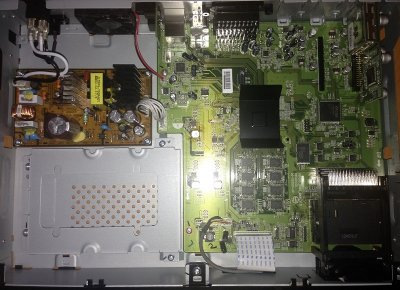
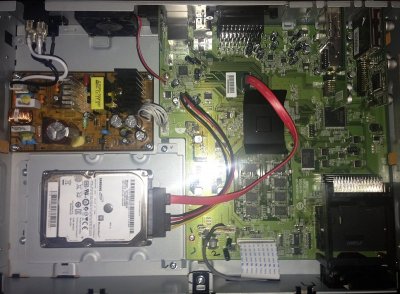
Ok so before I powered the Duo2 up for the first time, I actually fitted my hdd to the box, removing the lid is a case of removing 5 screws from the case (very simple), inside the box there is a hdd tray, that will accommodate either a 2.5” laptop hdd, or a full size 3.5” desktop hdd, installation is very straight forward and should take no more than 10 minutes.
Once the hard drive was installed, I added a single dvb-s2 tuner to the spare tuner slot, as I had 1 lying about. This converted my Duo2 from a twin tuner into a triple tuner (remember you can run it as single, twin, triple or quad tuner, so it really is a very versatile receiver, and should give even the most die hard of satellite enthusiast all the choice they need).
With the hdd and extra tuner installed, I refitted the lid and then plugged in all the connections.
I connected my Duo2 up using Tuner A, connected to a fixed dish, Tuner B (2nd tuner of Twin tuner card) to my motorised dish and then Tuner C (single tuner) was also connected to a fixed dish.
I also connected up the HDMI to my plasma TV and at the same time hooked up the component (YPbPr) connections to my LCD monitor.
Then I connected the power lead.
With all the connections done, it was now (finally) time to power the box on for the first time.
First Power up and Flashing:
Ok before I did anything else, I let the receiver boot up, to make sure it was all working ok, and the hdd was installed correctly. Once booted and I was happy, I then proceeded to shut the Duo2 down, pulled out my favourite Usb stick, and loaded on the BlackHole 2.0.4 Hyperspace image for the Vu+ Duo2 J
If this is your first Vu+ receiver, you will be pleased to know, that installing an image onto any of the Vu+ receivers is a very simple process. Simply grab a Usb stick, format it in fat32 with your pc, download the BlackHole image from www.vuplus-community.net and extract the zip file contents to the root of your newly formatted Usb stick. Once this is done, pull down the flap on the right hand side of the front panel, and plug the Usb stick into the 3rd Usb socket.
Now power on the Duo2, and when asked if you want to update, press the power button that is just above the Usb socket.
The Duo2 will do the rest and once flashing is complete it will reboot (you can now remove the Usb stick).
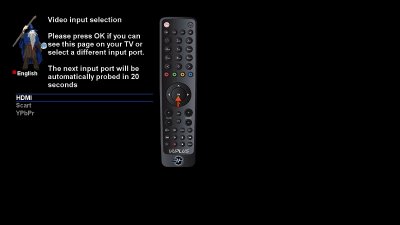
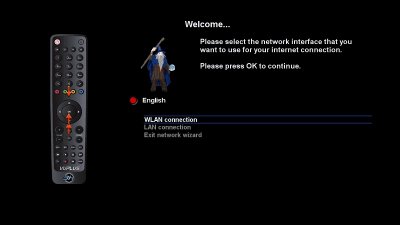
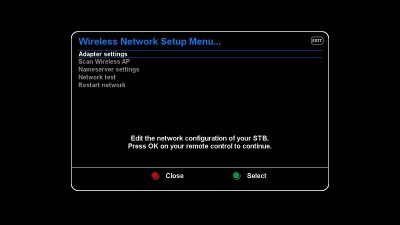
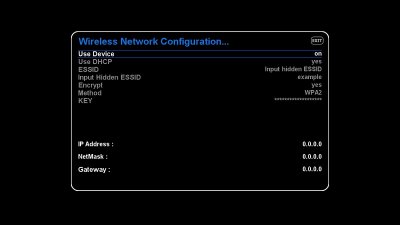
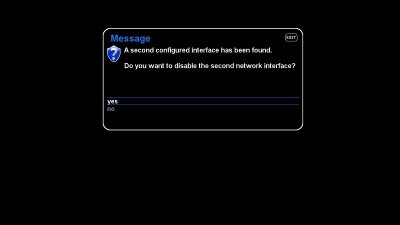
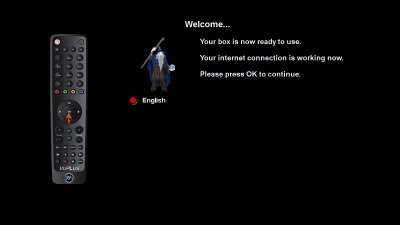
On first boot after flashing, you will be greeted with the setup wizard, just follow the simple onscreen instructions to setup your new Duo2.
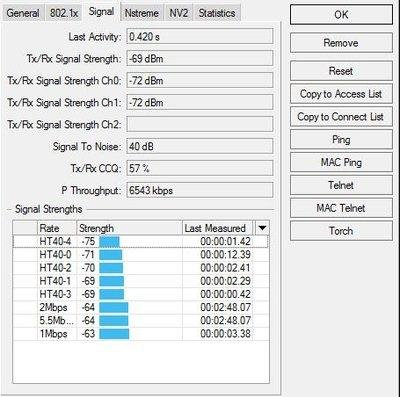
I used the built in wi-fi to test it out for this review. The built in wi-fi is great, as you get the flexibility to setup the box anywhere in the house, but if you do plan to stream HD channels to your pc, then I recommend using the gigabit lan connection instead.
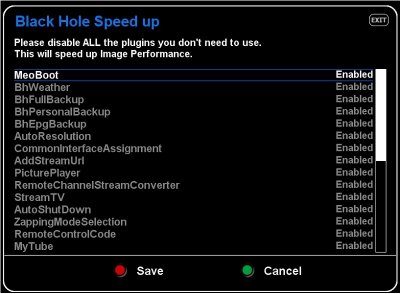
The first time you switch on your Duo2, you will notice that the bootup is extremely fast, but you can make it even faster, at the end of the setup wizard you will be taken to the BlackHole SpeedUp panel.
In here you to enable / disable various plugins and features that are included by default in the image, so you can disable any plugins you do not wish to use, and this will in turn speed up the boot (and restart) time of your Duo2 (you can change these options later on, by going back into the BlackHole SpeedUp panel in the Blue menu, just press the blue button twice and select BlackHole SpeedUp).
Time to Play:
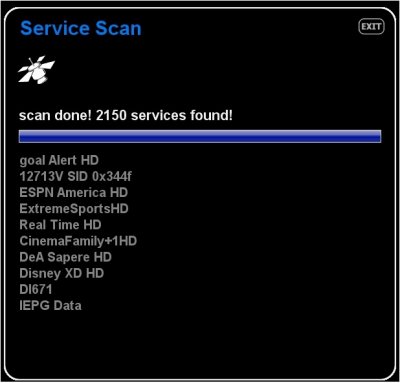
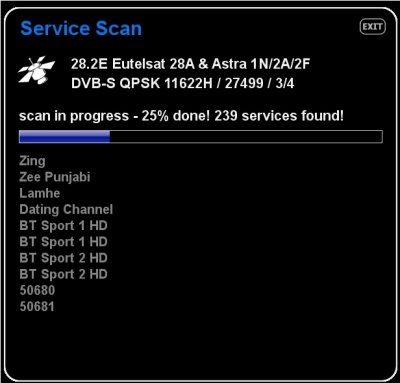
So first of all I decided to do a channel scan, which didn’t take very long at all, I scanned 2150 channels on 13°E in about 6 minutes.
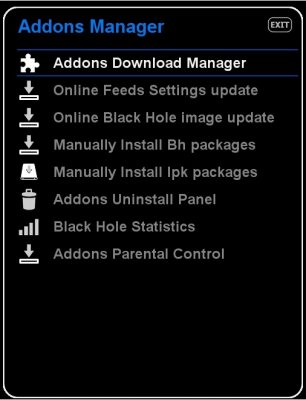
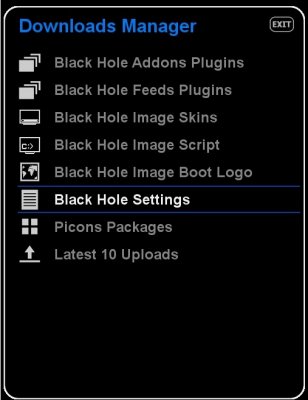
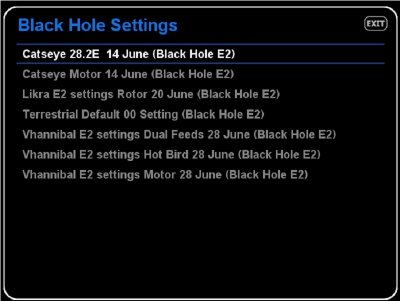
However you do not need to do this, you can simply download a channel list from the BH addon’s server, from within the image (simply press the green button, then yellow button and then select “Black Hole Settings” there are several options in there, and they are updated regularly so just chose whichever suits your needs best.
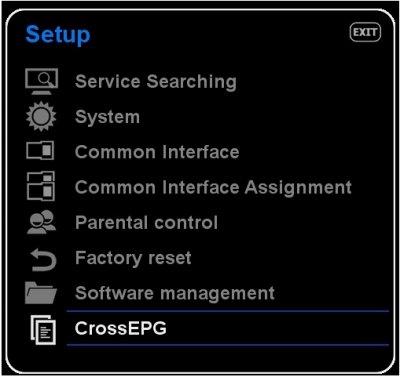
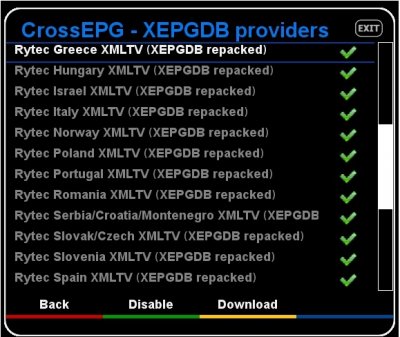
With the channel scan done, I then added the EPG, I personally used CrossEPG (built into all BlackHole images), and with the Duo2, (like the Solo2) you can download all of the epg packages for all your favourite providers in 1 go due to the powerful cpu, and the masses of memory the box has.
The Duo2 from a cold boot and gives me a picture on my screen less than 38 seconds (time will vary depending on how many plugins, skins, plugins etc are installed) which is truly outstanding (even faster than the Solo2 cold boot time).
So far we have only tried a few of the features that are available, but we know that the Duo2 is not just another sat box, it is a "Smart Box" so let's put it to the test with some of the other functions that help make it so Smart.
3.2” TFT LCD and VFD:
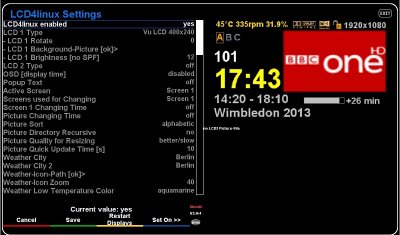
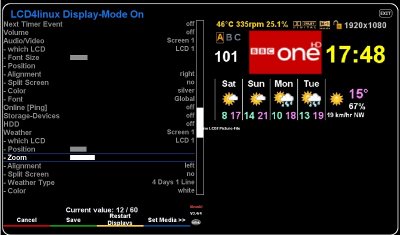
The first function that I will mention is that glorious 3.2” TFT LCD display, probably the first feature that jumped out at you when you looked at the Duo2. You can control this with the “LCD4linux” plugin, which is found in the Green Panel (press green on your remote control), with this plugin you can customise the display to suit your needs, there are many options and just about everything can be tweaked to suit you. A nice feature of the plugin, is that it gives you a preview of what the lcd display looks like so you don’t have to keep looking away from the tv screen when you make adjustments.
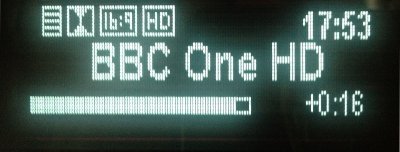
It also has the more traditional VFD display, this is also customizable however it is not as simple to customise as the LCD screen.
Opera Browser:
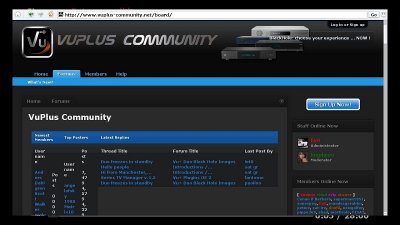
The Duo2 has the ability to browse the Internet with the integrated Opera browser. In the Green Panel (green button), activate the Opera browser and enter the URL you want to view using the remote control.
Navigation can be directed to local lan address’s such your NAS drive, or to the internet such as www.vuplus-community.net without leaving the comfort of your sofa.
The arrows on your remote control will allow you to move the cursor to the middle button of your browser or just use the OK button (the ok button replaces your left mouse button). At any time you can call the virtual keyboard (yellow button) if you want to enter data in a field of the displayed page or to Exit to return to our page.
Auto Language and Subtitles:
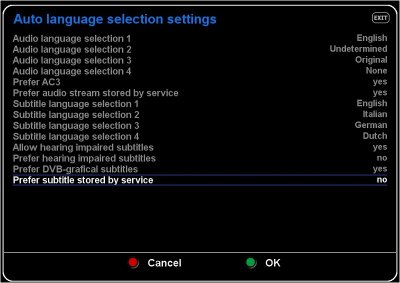
With the Duo2 and the BlackHole image you now have the option to setup Auto Language and Auto Subtitles for the first time (this has now been added to all BlackHole images from 2.0.4 onwards), simple go into the Auto language selection settings panel in the blue panel (press blue button twice) and you can select the 4 most used settings for both Audio and Subtitles.
HbbTV:
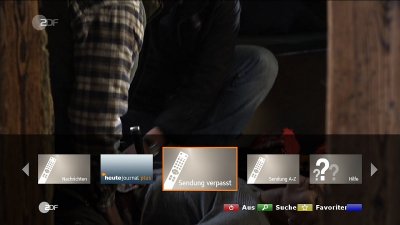
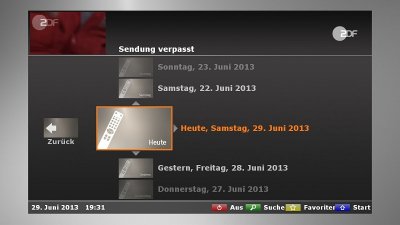
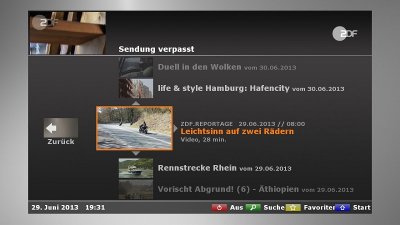
The Duo2 also supports HbbTV, just tune to a channel that provides the service (ZDF HD on Astra 1 19.2°E for example) and press the red button, the Duo2 will then use your internet connection to connect to ZDF’s ondemand services.
Blindscan:
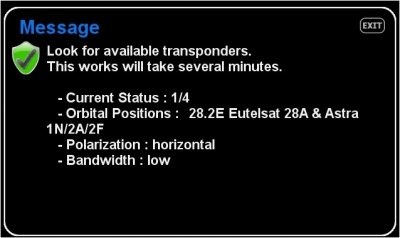
Another great feature of the Duo2, is the Blindscan function, this is more for enthusiasts and advanced users that like to scan the sky’s for all the channels they can find. The Blindscan plugin is located in the Green panel (press the green button on your remote control), simply select which tuner you want to use to Blindscan, and then select the satellite(s) you would like the scan and the Duo2 will do the rest. It’s a great feature especially when looking for feeds, or scanning those satellites where channels move around frequently. At the time of writing this review, Blindscan only works correctly on Tuner A, but I am sure Vu+ will soon have this working on all available tuners.
Transcoding:
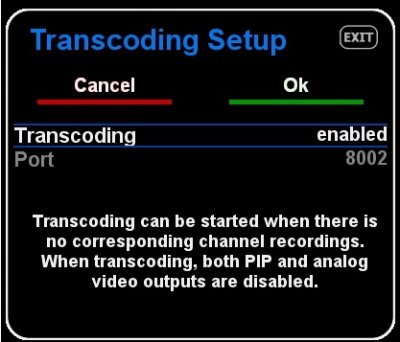
If you press the green button, and scroll though the plugins in the menu, you will find the Transcoding Setup, just press ok to select this plugin and then enable it.
Once enabled, you can use the Transcoding function, simply grab your smartphone, tablet or pc, in the web browser enter the ip address of your Duo2, once logged in you will be able to access your channel list. Find the channel you want, and at the end of the column will be 2 monitor icons. Simply click the 2nd (outside of the 2) icon, and transcoding will start.
Conclusion:
So you want to know, does the Duo2 live up to the hype?
Well I do have a couple of minor gripes with the Duo2’s VFD front panel display:
I feel it is either too big or too small, it’s somewhere in the middle between the large display found in the Ultimo, and the small display found in the Solo2. You can customise it a little, but it’s too small to fully customise, I feel it would have been better if Vu+ used either the large Ultimo display to give full customisation or use the small Solo2 display and give none, as for me the half and half does not work well. The display also appears to have a “hazy glow” to it, and therefore is not as clear as the Ultimo or Solo2 displays.
However overall the Duo2 is simply Awesome, there is nothing on the market that can compete with it. The box looks great, and it works great. The picture quality is simply stunning. To put it simply, the Duo2 will do more than “Double your Expectation!”
Review written by Ev0, BlackHole Team.

